 Pin This
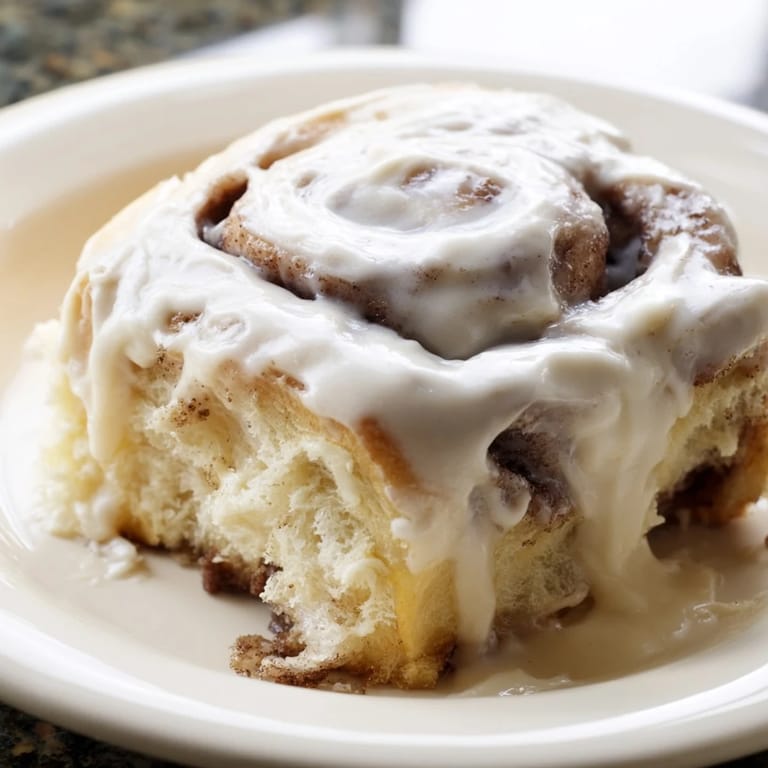
 The morning sunlight streamed through my kitchen window as I pulled these cinnamon rolls from the oven for the first time. The aroma filled every corner of my home, drawing my family to the kitchen before I could even call them. Watching their faces as they took that first bite - eyes closed, shoulders relaxing - I knew this recipe would become our weekend tradition. Something magical happens when butter, cinnamon, and sugar transform ordinary dough into pillowy swirls of comfort.
Last Christmas morning, I woke at dawn to prepare these for my visiting in-laws. My father-in-law, usually stoic and reserved, wandered into the kitchen following the cinnamon trail. He stood beside me, coffee in hand, and shared stories of his grandmother making similar rolls during his childhood. In that moment, these simple rolls bridged generations and created a connection I hadnt expected.
Ingredients
- Active Dry Yeast: Always check the expiration date - I once spent hours wondering why my dough wouldnt rise only to discover my yeast had expired months earlier.
- Warm Milk: The perfect temperature feels like warm bath water on your wrist - too hot will kill the yeast, too cool and it wont activate properly.
- Unsalted Butter: Using unsalted lets you control the exact saltiness of your rolls, but Ive used salted in a pinch by reducing the added salt.
- Ground Cinnamon: Freshly ground makes a noticeable difference - I keep cinnamon sticks on hand and grind them in small batches for the most vibrant flavor.
- Cream Cheese: Full-fat creates that perfect tangy-sweet balance in the glaze, though reduced-fat works if thats what you have on hand.
Tired of Takeout? 🥡
Get 10 meals you can make faster than delivery arrives. Seriously.
One email. No spam. Unsubscribe anytime.
Instructions
- Wake Your Yeast:
- Pour warm milk over your yeast with a spoonful of sugar and watch for tiny bubbles forming on the surface. This frothy reaction is your first clue that greatness is coming.
- Create Your Dough:
- Mix in your remaining ingredients until the dough pulls away from the bowl sides. It should feel slightly tacky but not sticky enough to coat your fingers.
- First Rise Magic:
- Place your dough ball in a greased bowl and cover with a damp cloth. The transformation during this hour of rising still amazes me every time.
- Roll With Purpose:
- Press the dough into a rectangle, taking your time to make it even. Those few extra moments of careful shaping make all the difference in how uniformly your rolls bake.
- Fill With Generosity:
- Spread that butter all the way to the edges before sprinkling your cinnamon-sugar mixture. I run my fingers along the far edge to leave a clean strip for sealing the roll.
- Roll and Slice:
- Roll the dough tightly from the long edge, using your fingertips to maintain even pressure. For perfect slices, I use unflavored dental floss slipped under the log and crossed over the top.
- Second Rise Patience:
- Arrange your spirals in the baking dish with a finger-width space between them. Theyll grow to touch during the second rise, creating that perfect pull-apart texture.
- Golden Perfection:
- Bake until the tops turn amber and your kitchen smells like heaven. If they brown too quickly, tent with foil to protect while the centers finish cooking.
- Glaze While Warm:
- The still-warm rolls will allow some glaze to melt into the crevices while leaving enough creaminess on top. I always make extra glaze because someone inevitably wants more.
 Pin This
 On a particularly difficult Monday, when everything seemed to go wrong, I pulled a batch of these rolls from the freezer and reheated them for an impromptu family breakfast. As we gathered around the table, the stress melted away with each shared bite and laugh. My daughter dubbed them our official comfort food, and now we make them whenever someone needs a bit of edible reassurance.
Make-Ahead Magic
One Sunday evening, with Monday looming, I decided to experiment with overnight preparation. After shaping the rolls and placing them in the baking dish, I covered them tightly and refrigerated overnight instead of doing the second rise. The next morning, I let them come to room temperature for about an hour while the oven preheated. The result was actually better than my standard method - the slow, cold rise developed a deeper flavor complexity that had everyone asking what Id changed.
Troubleshooting Tips
The winter my furnace broke, my dough refused to rise in my chilly kitchen. After that disaster, I learned to create a proofing box by placing the covered dough in an oven with just the light turned on. The gentle heat from the bulb creates the perfect environment when your kitchen is too cold. For summer baking when my kitchen runs hot, I find the dough can over-rise quickly, so I check it frequently and sometimes use cooler milk to slow things down.
Variations Worth Trying
During apple season, I often add finely diced apples to the filling, creating pockets of juicy sweetness that complement the cinnamon perfectly. For holiday gatherings, a sprinkle of orange zest in the dough and a tablespoon of orange juice in the glaze transforms these rolls into something festive and bright. Last Thanksgiving, I added chopped pecans and a touch of maple extract to both the filling and glaze, which earned me more compliments than the turkey.
- For a twist with depth, try brown butter in the glaze instead of regular butter - the nutty notes are absolutely worth the extra few minutes.
- Adding cardamom alongside the cinnamon creates a subtle chai-inspired flavor that pairs beautifully with afternoon tea.
- When serving to chocolate lovers, sprinkle mini chocolate chips over the cinnamon-sugar layer before rolling for melty pockets of chocolate surprise.
 Pin This
 These cinnamon rolls have become more than just a recipe in my collection - theyve become the centerpiece of countless family moments and the requested birthday breakfast year after year. I hope they bring as much joy to your kitchen as theyve brought to mine.
Recipe FAQs
- → Why is my dough not rising properly?
Ensure your yeast is fresh and active by checking the expiration date. The warm milk should be between 105-110°F (40-43°C)—too hot kills yeast, too cold slows fermentation. Keep dough in a draft-free, warm location for optimal rising.
- → Can I make these rolls ahead of time?
Yes! Shape the rolls and place them in the baking dish, cover tightly, and refrigerate overnight. Remove from the refrigerator and allow them to rise at room temperature for about one hour before baking.
- → How do I prevent the rolls from drying out?
Keep the dough covered during rising with a damp towel or plastic wrap. Don't overbake—remove from the oven when golden brown. Apply glaze while rolls are still warm to keep them moist and tender.
- → What's the best way to slice the rolls?
Use a sharp serrated knife dipped in warm water, wiping clean between cuts. Alternatively, unflavored dental floss works wonderfully—slide it under the roll and cross the ends above, pulling tightly downward for clean, even slices.
- → Can I customize the filling?
Absolutely! Add chopped pecans, walnuts, or raisins to the cinnamon-sugar mixture. For variations, try cardamom, nutmeg, or a hint of orange zest mixed with the brown sugar and cinnamon.
- → How should I store leftover rolls?
Store covered at room temperature for up to two days, or refrigerate for up to one week. Reheat gently in a 300°F (150°C) oven for 10-15 minutes, or microwave individual rolls for 20-30 seconds until warm.