 Pin This
 The first time I made beet hummus, I was secretly convinced it would be a disaster—bright pink dip seemed like something only children would eat at a birthday party. But one taste of that sweet, earthy creaminess completely changed my mind, and now it's the one appetizer that disappears from the serving bowl faster than anything else I make.
Last summer I brought this to a neighborhood potluck, and my friend Sarah actually texted me the next day begging for the recipe. Her husband, who claims to hate beets in any form, went back for thirds—that's when I knew this wasn't just another dip recipe.
Ingredients
- 1 medium beet: Roasting transforms the earthiness into something almost caramel-sweet, and I've learned that one medium beet gives you that gorgeous magenta color without overpowering the other flavors
- 1 small garlic clove: Use just one clove fresh garlic gets harsh when blended raw, and you want that gentle background warmth, not a punch in the face
- 400 g chickpeas (1 can): I always drain and rinse them really thoroughly under cold water, and sometimes I even rub them between my hands to remove that slippery canned taste
- 3 tbsp tahini: The good stuff matters here—stir your jar well before measuring, because the oil separates and you want that silky smooth consistency
- 2 tbsp fresh lemon juice: Bright acidity cuts through the earthy beets and rich tahini, and I always squeeze extra just in case my lemons aren't particularly juicy
- 2 tbsp extra-virgin olive oil: This adds luxurious creaminess, and I save my best olive oil for the final drizzle on top
- ½ tsp ground cumin: A little goes a long way—cumin bridges the gap between sweet beets and savory tahini beautifully
- ¼ tsp sea salt: Start with this and taste as you go, because the salt level can make or break the whole balance
- 2–3 tbsp cold water: This is the secret to that incredibly fluffy, light texture you get at really good Mediterranean restaurants
Tired of Takeout? 🥡
Get 10 meals you can make faster than delivery arrives. Seriously.
One email. No spam. Unsubscribe anytime.
Instructions
- Roast the beet to perfection:
- Preheat your oven to 200°C (400°F), wrap that scrubbed beet tightly in foil like a little present, and roast for 40–45 minutes until a fork slides through it like butter. Let it cool completely because hot beets will make your hummus weirdly loose and affect the texture.
- Blend everything together:
- Toss the cooled and chopped beet, chickpeas, garlic, tahini, lemon juice, olive oil, cumin, and salt into your food processor. Let it run for a good 2–3 minutes, stopping to scrape down the sides and break up any stubborn chickpea chunks that want to hide at the bottom.
- Add water for that dreamy texture:
- With the motor running, drizzle in the cold water one tablespoon at a time, watching the mixture suddenly transform from thick and pasty to incredibly smooth and fluffy. Stop when it looks like cloud—usually around 2 tablespoons does the trick, but trust your eyes.
- Taste and adjust:
- Dip in a spoon or piece of pita and really pay attention—maybe it needs another pinch of salt, or perhaps the lemon juice needs to pop more. This is when it becomes your recipe, not just something you followed.
- Serve it beautifully:
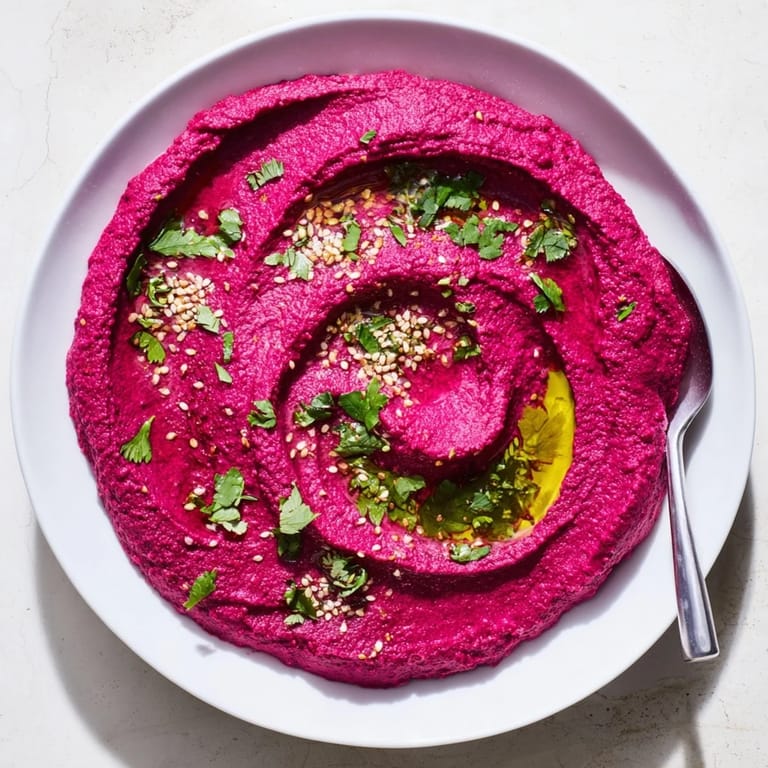
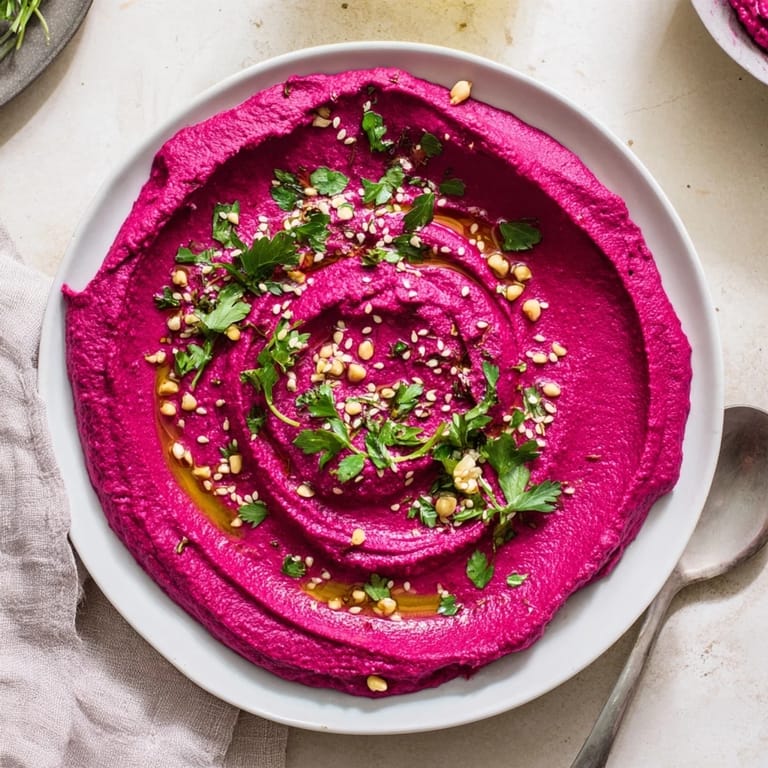
- Swirl the hummus into your serving bowl with the back of a spoon to create those gorgeous ridges that catch the olive oil. Drizzle generously with your best olive oil and finish with whatever speaks to you—chopped parsley for freshness, sesame seeds for crunch, or that extra pinch of cumin for a flavor hint.
 Pin This
 My mom now requests this every time she visits, which is saying something for someone who spent most of my childhood insisting that beets tasted like dirt. Watching her reluctantly try it, then immediately ask for the recipe, might be one of my favorite kitchen victories ever.
Making It Ahead
This hummus actually tastes better the next day, once all those flavors have had time to really get to know each other in the refrigerator. I often make it the night before a party and just give it a good stir and fresh drizzle of olive oil before serving.
Serving Ideas Beyond the Bowl
I've started spreading this on sandwiches instead of plain hummus, and it's absolutely delicious—especially with roasted vegetables or grilled chicken. It's also incredible as a base for a grain bowl with quinoa, cucumbers, and a big dollop of Greek yogurt on top.
Customizing Your Flavor
Once you've made the basic version, try adding a tablespoon of toasted sesame seeds for extra nuttiness or a pinch of smoked paprika for that gorgeous smoky depth. Sometimes I throw in a fresh herbs like cilantro or basil during the last few seconds of blending.
- A splash of good balsamic glaze on top creates this sweet-tangy contrast that people go crazy for
- Try swapping some of the chickpeas for white beans for an even creamier texture
- A tablespoon of Greek yogurt stirred in at the end makes it impossibly light and fluffy
 Pin This
 There's something deeply satisfying about transforming humble ingredients into something so vibrant and delicious. This recipe taught me that sometimes the most unexpected combinations become the ones we can't imagine living without.
Recipe FAQs
- → What does roasted beet hummus taste like?
The roasted beets add natural sweetness and earthiness, while tahini contributes nutty richness. Lemon brightens everything, and garlic provides subtle warmth. The result balances sweet, tangy, and savory flavors in a creamy texture.
- → How long can I store this in the refrigerator?
Keep it in an airtight container for up to 4 days. The flavors meld and improve over time, so it often tastes even better the next day. Give it a quick stir before serving.
- → Can I use canned beets instead of fresh?
While possible, fresh roasted beets provide superior flavor and sweetness. If using canned, drain thoroughly and roast briefly at 200°C for 15 minutes to enhance the taste before blending.
- → What's the best way to achieve the smoothest texture?
Blend longer than you think necessary, scraping down the sides frequently. The cold water technique is essential—add it gradually while the motor runs to reach silky consistency. A high-powered processor works best.
- → What should I serve with this?
Pita bread or chips, fresh vegetables like carrots and cucumber, crackers, or use as a sandwich spread. It also works beautifully as a base for grain bowls or topped with roasted vegetables.
- → Is this suitable for meal prep?
Absolutely. Make a batch on Sunday and enjoy throughout the week. It's perfect for quick lunches, afternoon snacks, or effortless entertaining when guests arrive unexpectedly.