 Pin This
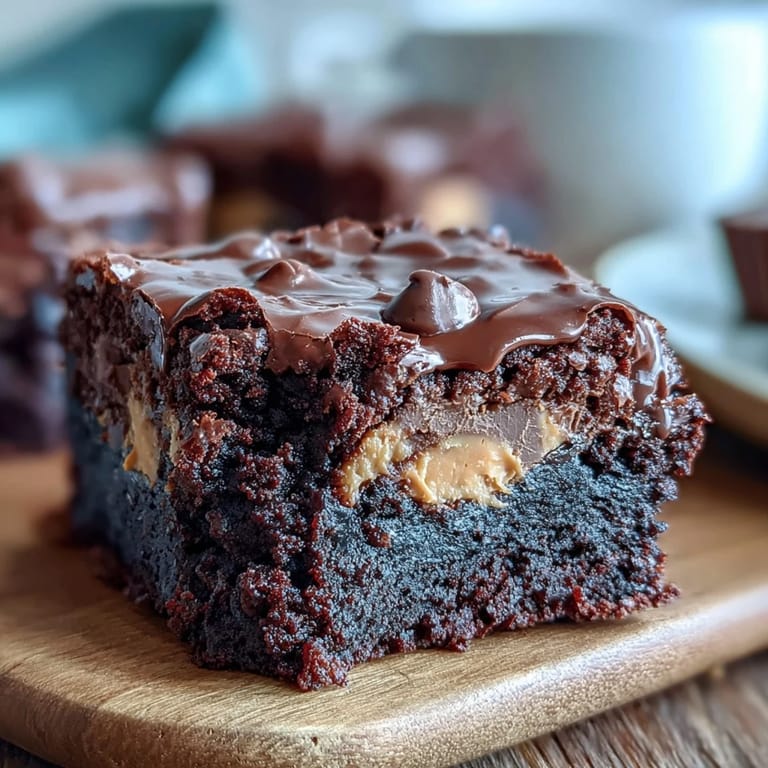
 My friend Sarah showed up at my door one afternoon with a box of peanut butter cups and an expectant look, challenging me to make something better than store-bought brownies. I grabbed what I had in the kitchen and started layering—halfway through I realized I was creating something that might actually impress her. The moment those brownies came out of the oven, the kitchen smelled like chocolate and possibility, and Sarah's face when she bit into that first square made every dirty bowl worth it.
I've brought these to exactly three potlucks, and all three times people asked for the recipe before they even finished eating. There's something about the combination that feels indulgent without being pretentious, like a chocolatier's creation wrapped up in homemade warmth.
Ingredients
- All-purpose flour (1 cup): The foundation that keeps these brownies from being cake—use the spoon-and-level method rather than scooping straight from the bag, or they'll turn dense.
- Unsweetened cocoa powder (1 cup): This is where the chocolate flavor comes alive, so don't skimp or grab the sweetened baking kind by accident.
- Baking powder (1/2 teaspoon): Just enough to help the brownies rise slightly without making them airy or cakey.
- Salt (1/2 teaspoon): The secret that makes people say they taste like a professional bakery creation.
- Unsalted butter, melted (1 cup): Melt it completely and let it cool slightly so you don't scramble the eggs when you add them.
- Granulated sugar (2 cups): The whisking with melted butter creates that signature glossy, fudgy texture that's different from other brownie recipes.
- Large eggs (4): Adding them one at a time prevents lumps and ensures they distribute evenly throughout the batter.
- Vanilla extract (2 teaspoons): A small amount deepens the chocolate flavor rather than making it taste sweet.
- Semi-sweet chocolate chips (1 cup): Fold these in gently so they stay evenly distributed rather than sinking to the bottom.
- Mini peanut butter cups (16): The star of the show—arrange them carefully so every square gets at least one piece.
Tired of Takeout? 🥡
Get 10 meals you can make faster than delivery arrives. Seriously.
One email. No spam. Unsubscribe anytime.
Instructions
- Prep your pan:
- Preheat the oven to 350°F and line your 9x13-inch pan with parchment paper, leaving edges hanging over so you can lift the whole thing out later without wrestling with it.
- Mix the dry team:
- Whisk together flour, cocoa powder, baking powder, and salt in a medium bowl until no streaks of cocoa remain.
- Cream the wet base:
- Combine melted butter and sugar in a large bowl, whisking until the mixture looks glossy and slightly thick—this is the moment the transformation starts.
- Add the eggs:
- Beat in eggs one at a time, stirring well after each addition so they blend smoothly rather than creating pockets. Stir in vanilla extract last.
- Combine everything:
- Gently fold the dry ingredients into the wet mixture using a spatula, being careful not to overmix—stop as soon as you don't see dry streaks anymore.
- Fold in the chocolate:
- Add chocolate chips with the same gentle hand, stirring just until distributed throughout.
- Layer the peanut butter treasure:
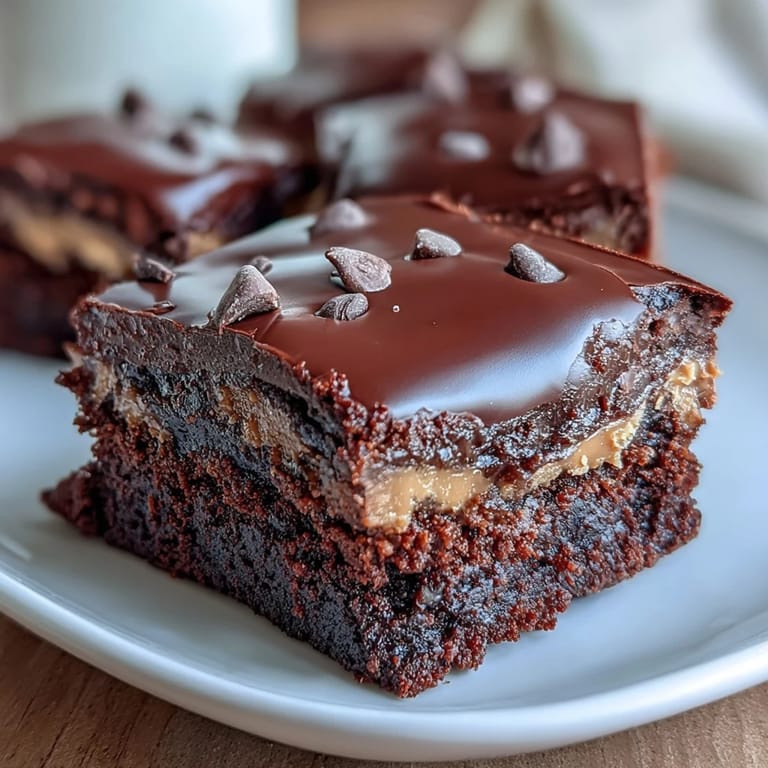
- Spread half the batter into your prepared pan, arrange peanut butter cups in an even pattern across the top, then spoon the remaining batter over them and smooth the surface with a spatula.
- Bake to fudgy perfection:
- Bake for 28 to 32 minutes until a toothpick inserted in the center pulls out with a few moist crumbs still clinging to it—this is the magic moment that separates fudgy from overdone.
- Cool with patience:
- Let the brownies cool completely in the pan before you try to remove them, or they'll fall apart while you're cutting.
 Pin This
 My sister once brought her new boyfriend over and I served these still warm from the pan with vanilla ice cream, and he went back for thirds while barely saying anything else. That's when I knew these brownies could bridge any social awkwardness.
The Peanut Butter Cup Question
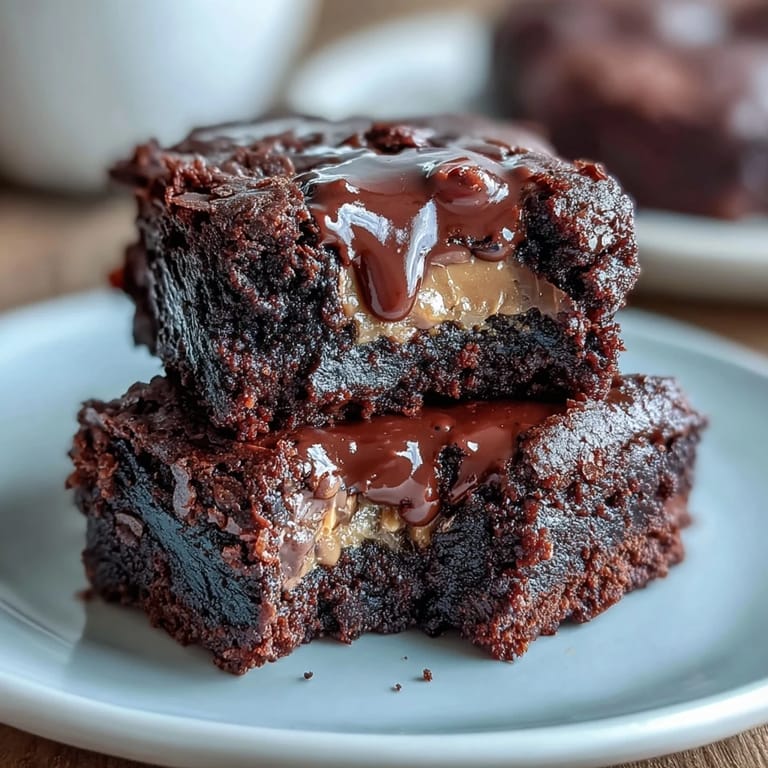
You'll hear people get particular about which peanut butter cups work best here, and honestly they're right to care. Mini cups stay more prominent and distribute better across the pan, while standard-size ones need cutting in half but give you deeper pockets of peanut butter flavor. I've also experimented with store brands versus name brands, and while the expensive ones are slightly creamier, the budget versions bake just fine—spend your money on good cocoa powder instead.
Texture and Doneness
The tricky part of this recipe isn't the ingredients or technique—it's knowing when to stop baking. Brownies continue cooking slightly as they cool, so that moment when the toothpick comes out with moist crumbs is actually perfect, not underdone. If you like your brownies firmer and less fudgy, you can bake an extra 2 to 3 minutes, but I'd recommend trying it my way first so you know what you're adjusting from.
Customization and Storage
Once you've mastered the base, the fun begins—drizzle cooled brownies with melted chocolate or peanut butter for extra richness, or try swapping the peanut butter cups for caramel candies, chocolate hazelnut spread, or even crushed pretzels for a salty surprise. These keep beautifully in an airtight container at room temperature for five days, though they rarely last that long in any kitchen I know.
- Store them in a single layer separated by parchment so they don't stick together and tear when you pull them apart.
- Serve them warm with vanilla ice cream, cold with coffee, or at room temperature with a cold glass of milk.
- If you need to freeze them, wrap each square individually and they'll last up to three months, thawing at room temperature in about an hour.
 Pin This
 These brownies have become my go-to when I need to bring something to a gathering, because they're reliable and they feel personal without requiring hours of work. Make them once and you'll understand why Sarah keeps asking me to bring them to every event.
Recipe FAQs
- → How can I ensure brownies stay fudgy?
Use melted butter and avoid overmixing the batter. Baking just until a toothpick shows moist crumbs helps retain moistness.
- → Can I substitute peanut butter cups with other fillings?
Yes, caramel candies or chocolate hazelnut spread work well for different flavor twists.
- → What’s the best way to layer the peanut butter cups?
Spread half the batter first, arrange the peanut butter cups evenly, then cover with remaining batter for uniform layers.
- → Should I use parchment paper when baking?
Yes, lining the pan with parchment allows easy removal and clean edges without sticking.
- → Can these brownies be served warm?
Absolutely, serving warm with ice cream enhances the gooey texture and flavor contrast.