 Pin This
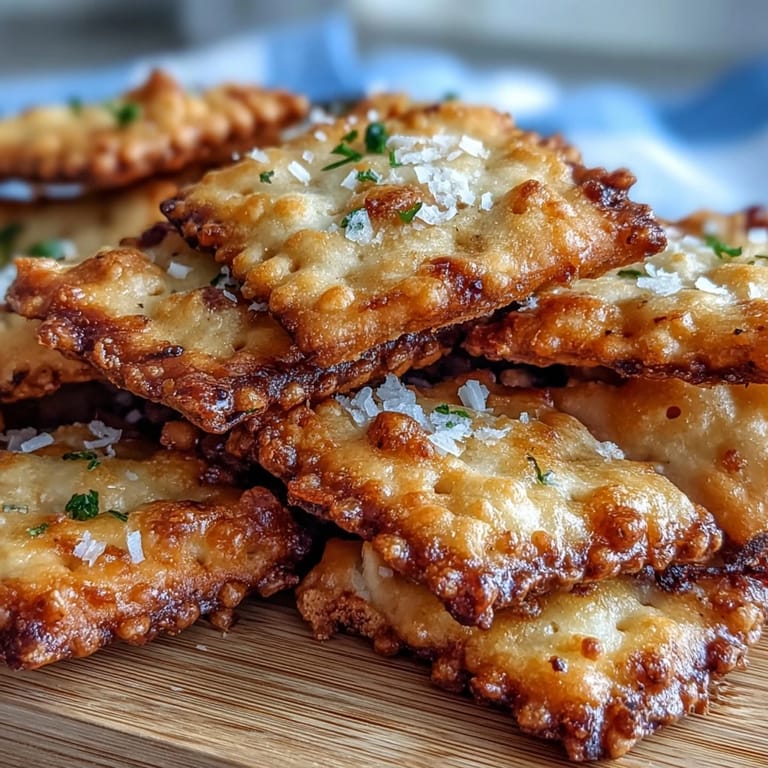
 My sourdough starter had been neglected for weeks, sitting in the back of my fridge like a forgotten project, when I suddenly remembered that tangy, slightly funky discard could become something crispy and addictive. I was testing recipes for a casual dinner party and stumbled onto the idea of mixing that acidic sourdough with sharp cheddar and Parmesan, and the moment those first crackers came out of the oven golden and shattering between my fingers, I knew I'd found something special.
I made these for friends who kept asking what I was baking because the smell alone had them hovering near my kitchen, and watching their faces when they realized these were homemade still makes me smile. One friend immediately asked for the recipe, then texted me days later that she'd made them three times already and was considering ditching store-bought options entirely.
Ingredients
- All-purpose flour (1 cup): The neutral base that lets the cheese and sourdough flavors shine without competing.
- Sharp cheddar cheese, finely grated (1 cup): Use the sharpest you can find because the flavor concentrates when baked and mellows slightly, so you want to start bold.
- Parmesan cheese, finely grated (1/3 cup): This adds umami depth and helps the crackers brown beautifully, creating that golden-crisp exterior.
- Cold unsalted butter, cubed (1/3 cup): The cold butter creates those delicate layers and flaky texture, so resist the urge to warm it up.
- Sourdough discard, unfed (1/2 cup): The acidic star ingredient that gives these crackers their signature tangy complexity and helps them stay crispy longer.
- Garlic powder (1/2 tsp in dough, 1/4 tsp in topping): Split between dough and topping for layered garlic notes that aren't harsh or overwhelming.
- Onion powder (1/4 tsp): A subtle background note that rounds out the savory profile without making anything taste explicitly like onion.
- Fine sea salt and freshly ground black pepper: Season generously in the dough, then finish with flaky salt on top for textural contrast and bursts of saltiness.
Tired of Takeout? 🥡
Get 10 meals you can make faster than delivery arrives. Seriously.
One email. No spam. Unsubscribe anytime.
Instructions
- Combine your dry ingredients and cold butter:
- Pulse your flour, both cheeses, cold butter cubes, and seasonings in a food processor until it looks like breadcrumbs with tiny butter pieces still visible. You want texture here, not a smooth paste.
- Bring the dough together:
- Add your sourdough discard and pulse gently just until a shaggy dough forms around the blade. Overworking at this stage leads to tough crackers, so stop as soon as it barely holds together.
- Knead gently and rest:
- Turn everything onto a lightly floured surface and knead for just a minute until smooth and cohesive. Wrap it in plastic and chill for at least 30 minutes, which relaxes the gluten and makes rolling easier, though you can skip this if you're in a hurry.
- Prepare your workspace and oven:
- While dough chills, line two baking sheets with parchment paper and preheat your oven to 350°F. This temperature is your sweet spot for golden, crispy crackers without any burnt edges.
- Roll and cut with precision:
- On a lightly floured surface, roll your dough to about 1/8 inch thickness, aiming for an even sheet. Use a pastry wheel or sharp knife to cut 1-inch squares, and don't stress about perfect geometry because slight variations add charm.
- Create the signature hole:
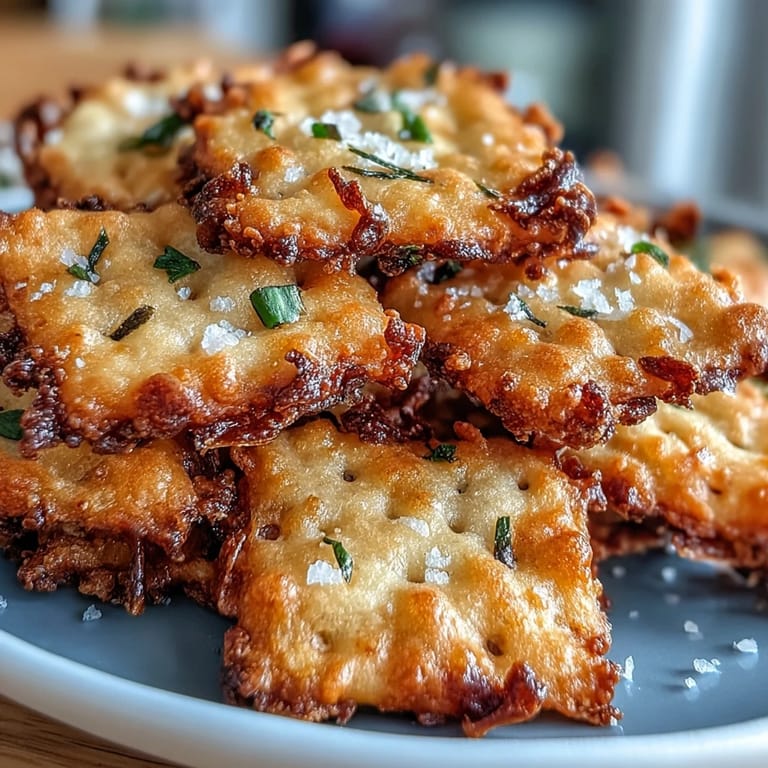
- Use a skewer or toothpick to poke a single hole in the center of each square, mimicking those iconic Cheez-It dimples. This isn't just for looks, it helps them bake evenly and crisp all the way through.
- Season before baking:
- Lightly brush the tops with water using a pastry brush, then sprinkle with the mixed Parmesan and garlic powder topping plus flaky sea salt. The water acts as an adhesive so seasonings stick instead of falling off.
- Bake until golden and crisp:
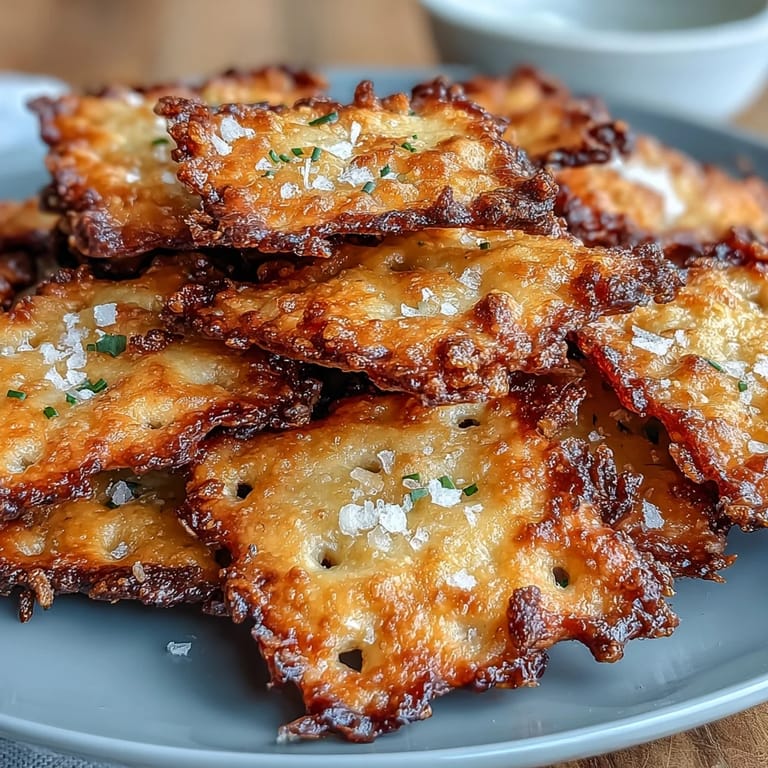
- Bake for 16 to 18 minutes, rotating your pans halfway through to ensure even browning. They should smell absolutely incredible and sound crispy when you tap one.
- Cool completely before serving:
- Transfer to wire racks and let them cool all the way down so they crisp up fully and any residual steam escapes. Eating them warm is tempting but they'll reach peak crispness once completely cool.
 Pin This
 There's something oddly satisfying about transforming sourdough discard, which feels like kitchen waste, into something people actually crave and compliment. These crackers have quietly become my go-to hostess gift because they feel homemade without being fussy or requiring special ingredients.
Why Sourdough Discard Changes Everything
Most cheese crackers rely purely on sharp cheese for depth, but sourdough discard adds a subtle tang and complexity that makes people pause mid-bite trying to figure out what makes them taste so much better than store-bought versions. The acidic bacteria have already done their work in the starter, so you get these sophisticated flavor notes without needing to ferment the dough further, and it's honestly one of the easiest flavor upgrades I've ever stumbled onto.
The Science of Crispy, Not Cakey
The secret to achieving that satisfying shatter is keeping your butter cold and cold butter cubes distributed throughout the dough creates steam pockets that make crackers crisp instead of dense. Rolling thin (truly thin, not just eyeballing it) and that single poke hole both serve the same purpose, ensuring heat reaches the center quickly so the entire cracker crisps evenly without the edges overdrying.
Storage, Serving, and Endless Variations
Airtight containers keep these crackers crisp for up to five days, and I've found that tucking a single dried chile or bay leaf inside somehow keeps them fresher longer. These belong on snack boards alongside cured meats, soft cheeses, and pickles, but honestly they disappear fastest when I simply arrange them in a bowl as a before-dinner nibble.
- For extra depth, stir 1 teaspoon of dried Italian herbs directly into the dough before adding sourdough discard.
- Try swapping half the cheddar for Gruyère or adding a pinch of cayenne if you like subtle heat.
- A gluten-free version works beautifully using a one-to-one gluten-free flour blend, though handle the dough slightly more gently.
 Pin This
 These crackers represent exactly the kind of cooking I love most, where basic ingredients transform into something that tastes far more impressive than the effort required. Once you've made them once, you'll be making them again, and your friends will absolutely wonder where you're ordering them from.
Recipe FAQs
- → Can I make these crackers gluten-free?
Yes, substitute all-purpose flour with a cup-for-cup gluten-free flour blend to maintain texture and flavor.
- → How should I store these crackers?
Keep them in an airtight container at room temperature for up to 5 days to retain crispiness.
- → Can I add herbs to the dough?
Adding 1 teaspoon of dried Italian herbs enhances flavor without overpowering the garlic and cheese notes.
- → What is the best way to roll out the dough?
Roll the chilled dough to about 1/8 inch thickness on a lightly floured surface for even, crisp crackers.
- → How do I ensure the crackers bake evenly?
Bake on parchment-lined sheets at 350°F, rotating pans halfway through, until golden and crisp, about 16–18 minutes.
- → Can I freeze the crackers?
Freezing is not recommended as it may affect the crisp texture; it's best to bake fresh and store airtight.